400W Solar Panel Kit List
This article explains all you need to know about the 400W Solar Panel including an extensive list of the required DIY parts, and readily available kits.
This guide can be used as a reference for setting up your campervan, RV motorhome, caravan, or motorhome solar set up.
The article explains the setting up of a solar system in a way that is easily understandable by newbies to campervan electrical systems. Campervan electronics can pose the risk of injury, so make sure you contact an electrician if unsure.
Power capacity of a 400W Solar Panel – What can it Power?
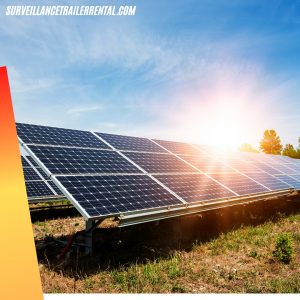
A 400W Solar Panel
What a 400W solar panel can power depends on many variables including the time of year, the weather, where you live, and what type of charge controller you use.
For instance, here’s an example of what you could experience on a normal day, with four hours of sunlight with an MPPT controller:
Solar panels with 400 watts of power will provide between 120 and 128 amp-hours (Ah) of power per day.
This generated power is more than enough to:
- Run an inverter that can charge laptops and charge TVs.
- Power a well-sized and energy-efficient fridge.
- Recharge many USB-enabled portable devices such as tablets, phones, and kindles.
- Run the roof vent all day to prevent condensation.
- Power a composting toilet fan continuously.
- Keep a diesel heater running for a few hours.
- Power a couple of LED lights inside a campervan.
Note: This is dependent on having average sunlight days.
A 400w solar system gives you a few days of reserve power based on the usage and lack of other recharging sources. You may be unable to recharge the batteries every day, so ensure you have a backup in case you require it.
Who would benefit more from a 400W solar panel?
A 400W solar panel setup is ideal for couples or small families. It can be used to power a medium-sized campervan that has a roof to hold the panels.
It can be used to facilitate boondocking and camping in your RV during summer and spring as long as you monitor the battery levels.
A 400W system is sufficient to run your entire campervan’s electric system on 100% solar all year-round. No need to use shore power or driving.
However, with a 400W system, you’ll still need to monitor your battery levels and consumption closely.
If you prefer a solar system with more than 400W power, consider building a scalable system. Whenever your budget and requirements change, you can install extra panels and batteries considering you have enough space on your roof.
DIY 400W Solar Panel Parts List
This contains a list of every component you’ll require to set up 400W solar panels on your campervan or RV.
Solar Panel
Solar panels capture sunlight and convert it into electricity.
There are a variety of solar panels but we recommend using monocrystalline panels because they’re the most efficient.
Solar Charge Controller
Solar charge controllers regulate the solar current to keep it at a level safe enough to charge the batteries.
A 40A controller will be sufficient for a 400W solar panel set up.
We recommend installing the MPPT controller to manage this investment and size.
A PWM controller costs a fraction of the cost of an MPPT but the significant loss of energy could offset the cost of the bigger system.
Consider a more rated device if you are thinking about expanding your solar capacity in the future. It will be more cost-effective in the long run and more efficient.
Batteries
There are three kinds of campervan batteries. We recommend Gel or Lithium-ion.
For a 400W solar panel setup, you’ll need approximately 180Ah of gel battery or 150Ah of lithium.
If space isn’t a major issue you’ll never be disappointed choosing a larger battery, therefore always go up a size rather than down.
Fittings
Solar panel mounting brackets
These allow you to mount the solar panel to your vehicle without having to drill holes in the roof. Refrain from attempting to climb on your roof.
Solar Panel Cable
The point of using different colors is to make it easy to identify the positive and negative wires.
If you are unable to get red, you can use the black cable and mark it using electrical tape or heat shrink.
Before you purchase extension cables, calculate the length you will require.
You will need enough cable to run from the end of the existing solar panel cables to the battery through the solar charger and kill switch.
Solar panel gland seal
Unfortunately, drilling a hole is the only way to connect the cable into the van. Connect it to the van and seal it using gland sealing.
Fuse Holder
This lies between the solar charger and the battery cut-off switch.
ANL fuse holders are less difficult to install as compared to in-line holders. However, the fuses needed for these holders are harder to locate than the standard blade fuses.
The fuse between the solar charge controller and the solar panel must be 1.3 times greater than the lowest operating current for the array. (See the back of each panel to find their specifications).
When connecting in parallel, the fuse between the solar panel and the controller should be 1.3 times the total Optimum Operating Currents for each panel in the array. (See the back of each panel for their specifications).
The fuse between the controller and the battery should be of the same rating as the solar charge controller.
2 x 1250 Amp Battery Cut Off Switches
Cut-off switches on the battery supply line and circuit supply lines allow the isolation of the battery.
The capacity of the switch that cuts off the battery must be more than the battery’s total bank capacity
If you’re looking to upscale at a later time, you should consider adding a larger size now, to avoid having to replace it later.
Battery Terminal Eyes / Wire Lugs
These connectors let you connect your cable to the battery.
Select a lug larger than the wire gauge, and one that has an eye that fits on the battery’s terminal.
1/4” Red & 1/4” Black heat shrink
Heat shrink closes electrical joints to cover the bare wires.
This solar installation will require you to connect the ANL fuse or the in-line fuse and the connectors for battery terminal connectors.
Sikaflex (Panel Adhesive)
The adhesive is used to attach the solar panel mounts to the van roof.
It can be messy so make sure you wear gloves with latex when you apply the adhesive.
To create a strong bond, you’ll need to put about 4 to 5mm of sealant between the bracket and the panel. It takes about 24 hours on a dry day to cure.
Fuses and wires should be rated for the system’s load and cable length.
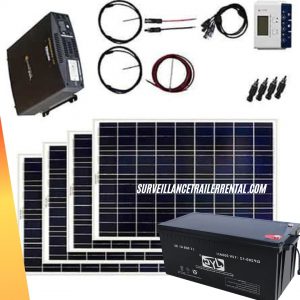
400W Solar Panel Kit
Pre-configured solar panels are available if you don’t want to shop around.
These include the mounting brackets, solar charge controller, and solar panels. Some of them include extension wires.
Check the contents of your kit, and decide if you will need to purchase additional items before you purchase it.
Also, ensure that it’s financially feasible.
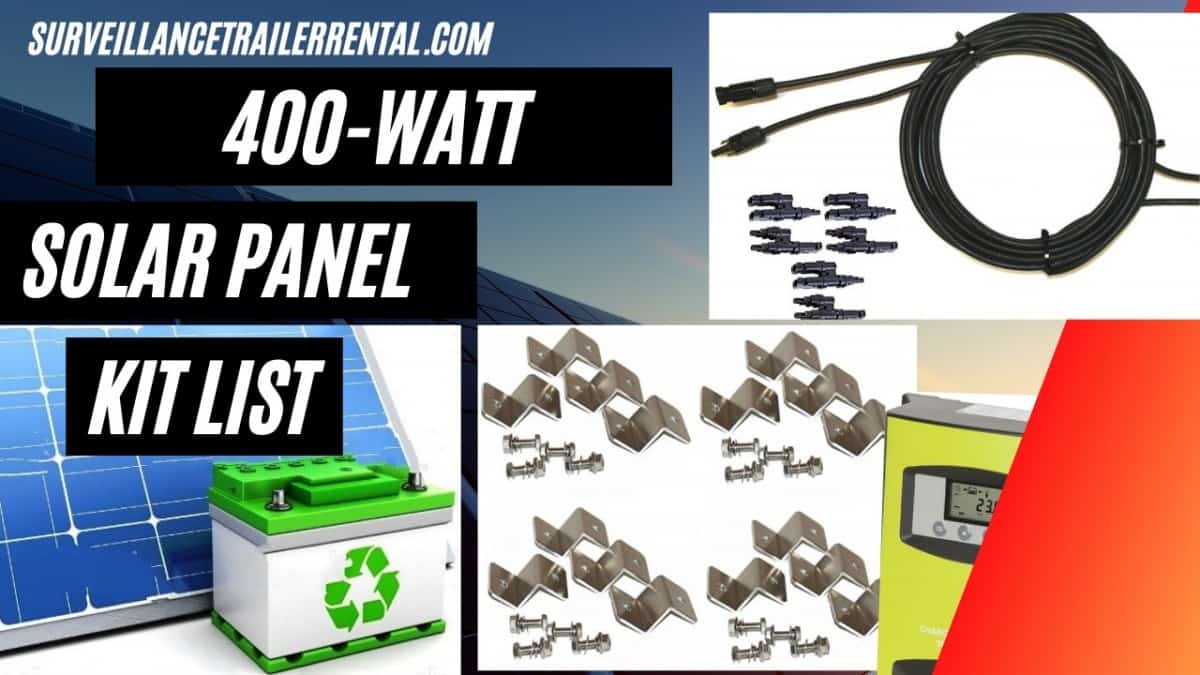
Full Solar Panel Kit list
The complete kit includes:
- 4 x 100W Monocrystalline Solar Panels @ 12V
- 40A MPPT Charge Controller
- All connectors and cables
- Mounting brackets
- Fuse holders and fuses
You will need to purchase the battery and cable entry housing separately.
How to Install 400 Watt Solar Panel System
Here’s a guide showing how to install solar panels to a campervan.
It might be helpful when you’re thinking of increasing the size of your setup.
Additionally, there’s a section on the tools you need to install your campervan solar panels.
These tools can be expensive, so if you don’t anticipate using them frequently, you can borrow them.
You should invest in a multimeter and keep it in your RV toolkit while traveling and living in your van.
This article will show you how to make use of a digital multimeter in your camper.